
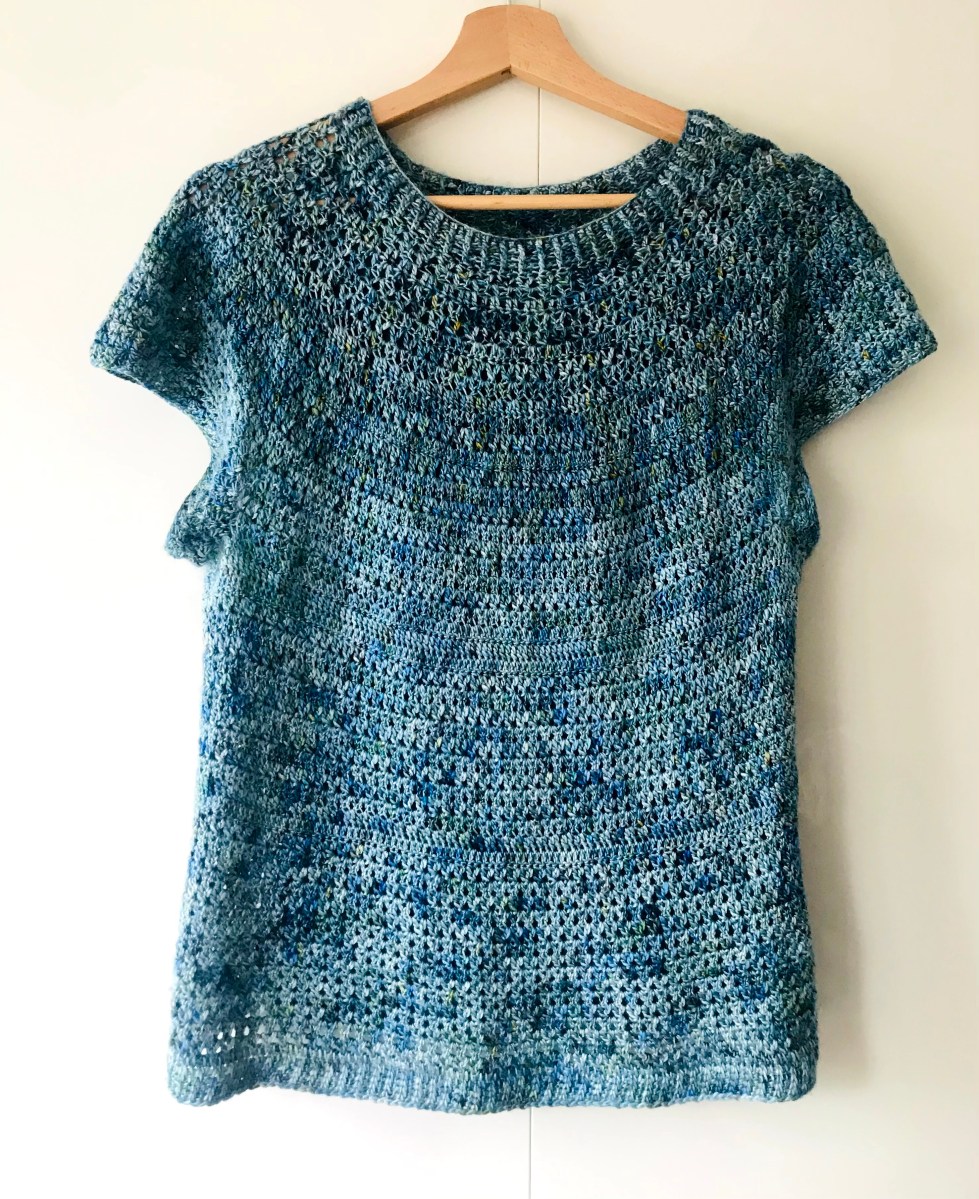
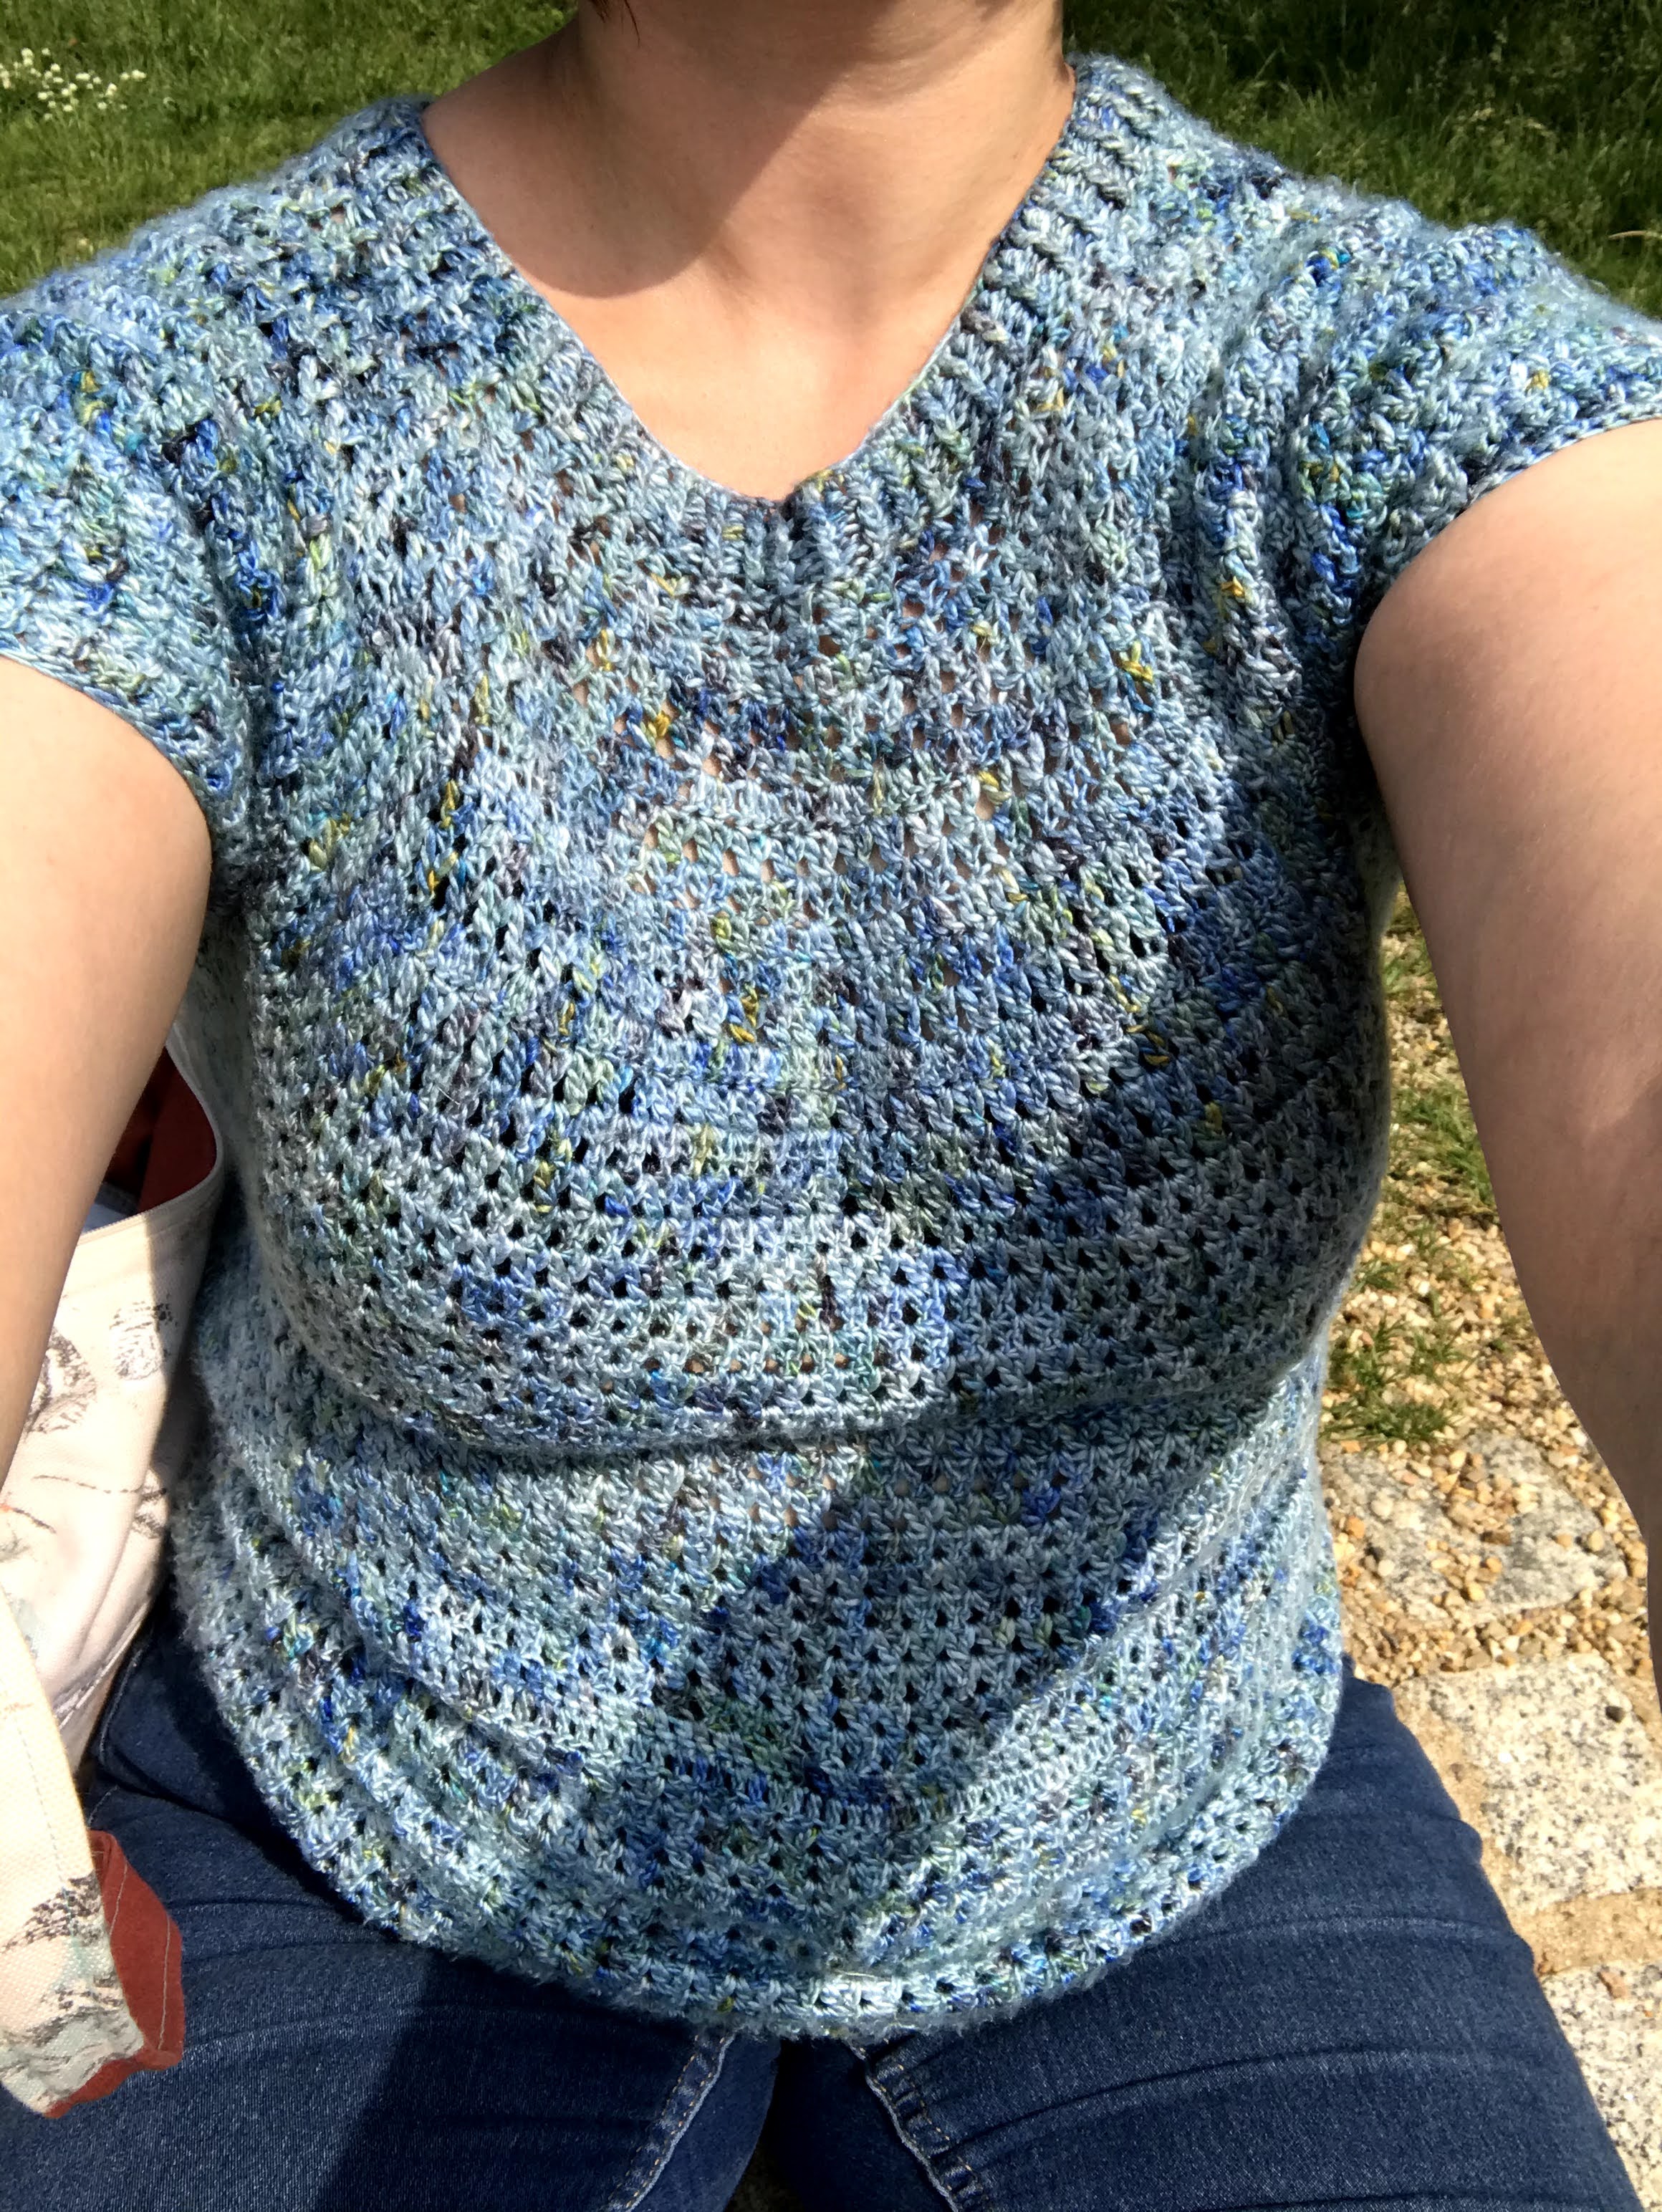
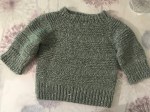
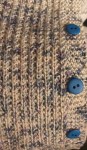
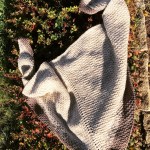
Yoke crosetat
Buna!
Daca intotdeauna ti-ai dorit sa-ti lucrezi propria bluza sau rochita si nu ai stiut cu ce sa incepi, iti propun sa incepi cu niste calcule.
Cum? Iti spun mai jos
- Vei avea nevoie de tensiunea de lucru si de circumferinta de la piept
- Adaugati lejeritate la circumferinta de la piept
- Daca pentru circumferinta de la piept avem 100 %, la circumferinta Yoke (piept + brate) vom avea 160% (30% pentru fiecare brat)
- Guler 40%*circumferinta piept (!!! Atentie; Daca lucrati cu bumbac atunci adaugati mai mult)
- Pentru fiecare inmultire de la Yoke eu adaug 33%
Si acum exemplificare
- tensiunea de lucru este: 10 cm = 25 ochiuri => 1 cm = 2,5 ochiuri
- Circumferinta piept: 100 cm + 10 cm = 110 cm => 110 cm * 2,5 ochiuri = 275 ochiuri
- Circumferinta Yoke; 160% * 100 cm = 160 *2,5 ochiuri = 400 ochiuri
- Guler 40% * 100 cm = 40 cm *2,5 ochiuri = 100 ochiuri
- prima inmultire: 0,33 *100 =33 => 100 / 33 = 3,03 la fiecare al 3-lea ochi facem o inmultire. Ochiurile finale vor fi deci (33*3)+1+33 =133 ochiuri >>>> 33 de ochiuri intra de 3 ori in 100 de ochiuri si ne ramane 1 ochi pe care il lucram asa cum este el si adaugam cele 33 de ochiuri pe care tocmai le-am adaugat la fiecare inmultire <<<<
- apoi lucram cateva randuri fara inmultire
- a doua inmultire: 0,33 * 133 ochiuri = 43,89 => aleg 44 ochiuri => deci 133 / 44 = 3,02 la fiecare al 3-lea ochi facem o inmultire. Ochiurile finale vor fi deci: (3*44)+1+44 = 177 ochiuri
- Se lucreaza cateva randuri ca sa se aseze modelul
- a treia inmultire: 0,33*177 = 58 => 177/58 =3 => la fiecare al 3-lea ochi facem o inmultire. Ochiurile finale vor fi deci: (3*58)+3+58 = 235 ochiuri >>>>> 3*58 = 174 dar noi avem 177 deja lucrate deci, 3 ochiuri le vom lucra asa si adaugam 58 de ochiuri fix cate am inmultit <<<<<
- lucram iarasi cateva randuri ca sa se aseze modelul
- lucram tot asa pana ajungem sa avem toate cele 400 de ochiuri pentru Yoke
Impartim fata/spate si brate:
400 de ochiuri Yoke – 276 (piept) = 124 ochiuri ne raman pentru maneci
Subrat eu intotdeauna adaug 8% * circumferinta piept => 0,08 * 100 = 8 cm * 2,5 ochiuri = 20 de ochiuri de adaugat pt fiecare subrat.
276 / 2 = 138 pentru fata si 138 pt spate. Sau adaugati mai mult pentru fata decat pt spate pentru ca fata este mai proeminenta decat spatele. SI invers pentru bluzele barbatilor (pentru ca ei au spatele mai lat).
Sper ca aceste calcule v-au fost de ajutor!
Va pup si va doresc sa va iasa toate calculele! :-))

Buna sa-ti fie ziua!
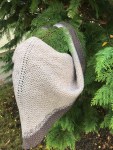
Probabil ca ai primit in dar niste fire sau probabil ca, intr-o zi te-ai trezit intrand intr-o mercerie si ti-au furat privirea niste fire pe care nu le-ai putut lasa acolo pentru ca visai ca intr-o zi sa iti lucrezi propria ta bluza.
Probabil ca ai pe undeva o croseta sau niste andrele si niste fire super frumoase si te-ai decis sa te reintorci in copilarile si sa iti creezi propria bluza dar….
…stai ca nu mai stii de unde sa incepi!
Pai, iti spun eu! 🙂
Incepi de la calcule! 🙂
Daca incepi sa calculezi, inainte de a pune mana pe fir si pe ustensile, atunci ai mari sanse ca sa nu mai desiri, ca sa nu mai desfaci si faci ne ‘n ori.
SI daca nu mai stii ce anume trebuie sa calculezi, iti spun in video-ul de mai jos.
Si iti mai spun ca ai nevoie decat de o masuratoare.
Toate detaliile aici sau mai jos.
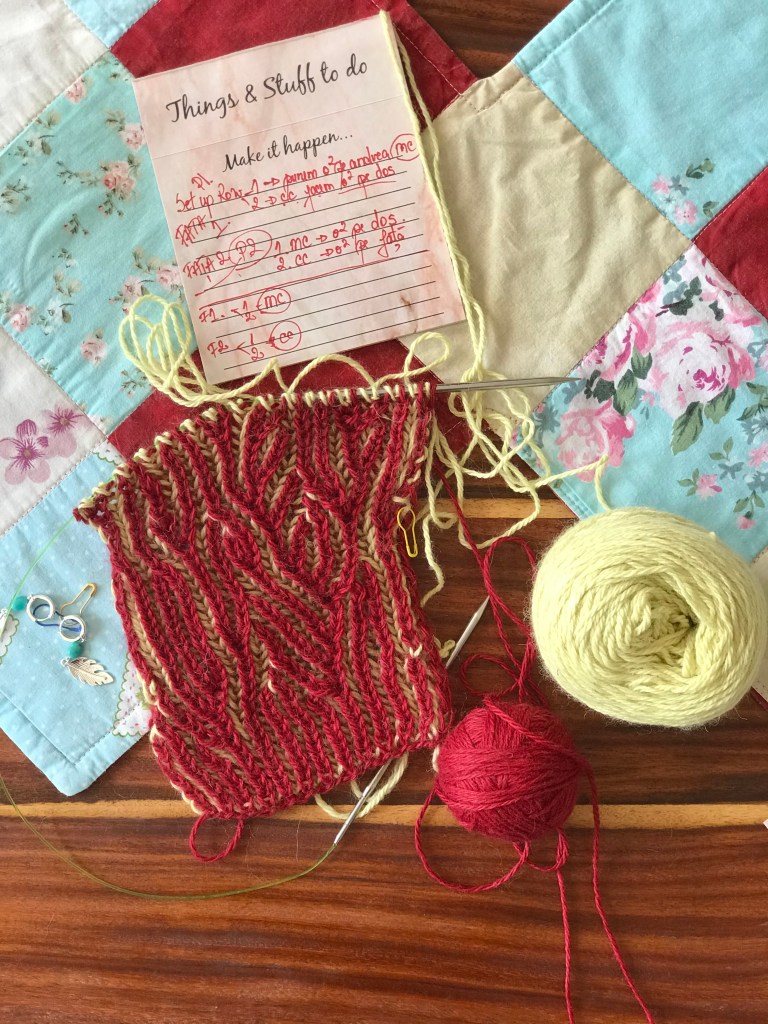
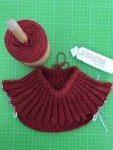
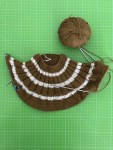
Fular pentru copii cu Brioche in doua culori
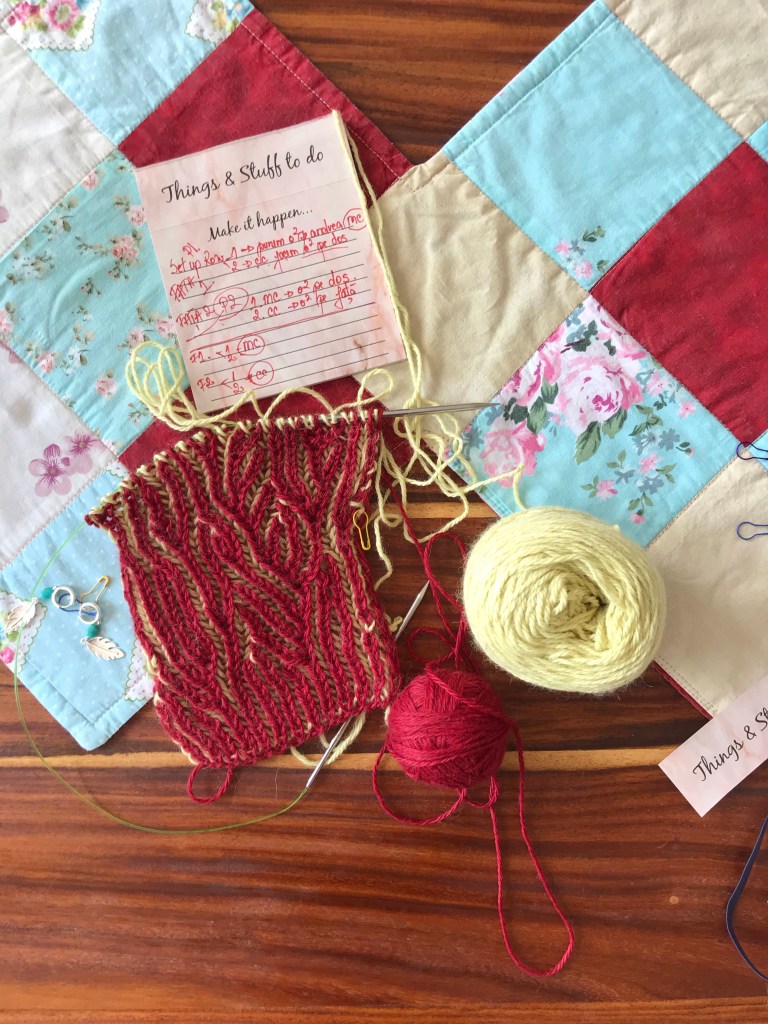
Continuam seria Brioche cu acest model super frumos.
Totodata învățam sa facem înmulțiri, sa scădem simplu către stânga și către dreapta.
Este un video care conține toate detaliile pentru a crea versiunea voastra de fular sau sal.
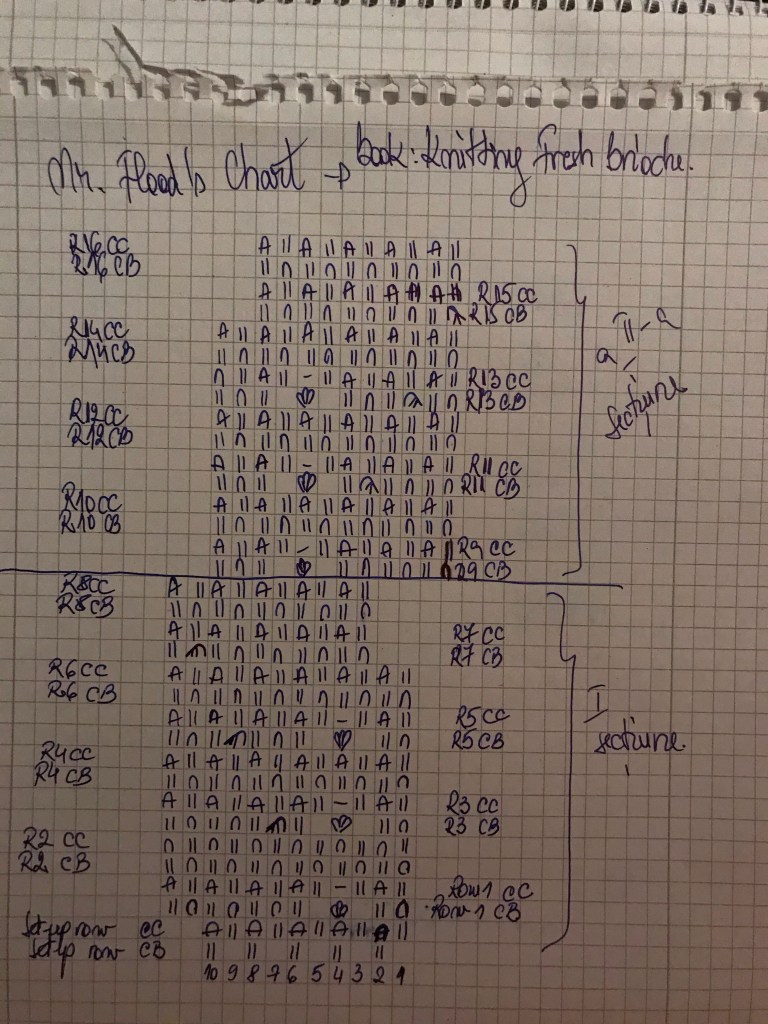
Aveți nevoie de un multiplu de 10 ochiuri + 5 de simetrie și de 16 rânduri care se vor tot repeta. Aceste 16 rânduri sunt împărțite in 2 sectiuni de câte 8 rânduri.
Aveți și un video de exemplificare. Atenție! Conține multe detalii.
Spor la tricotat!

Magia elasticului englezesc … sau cum Brioche in doua culori te duce in lumea magiei
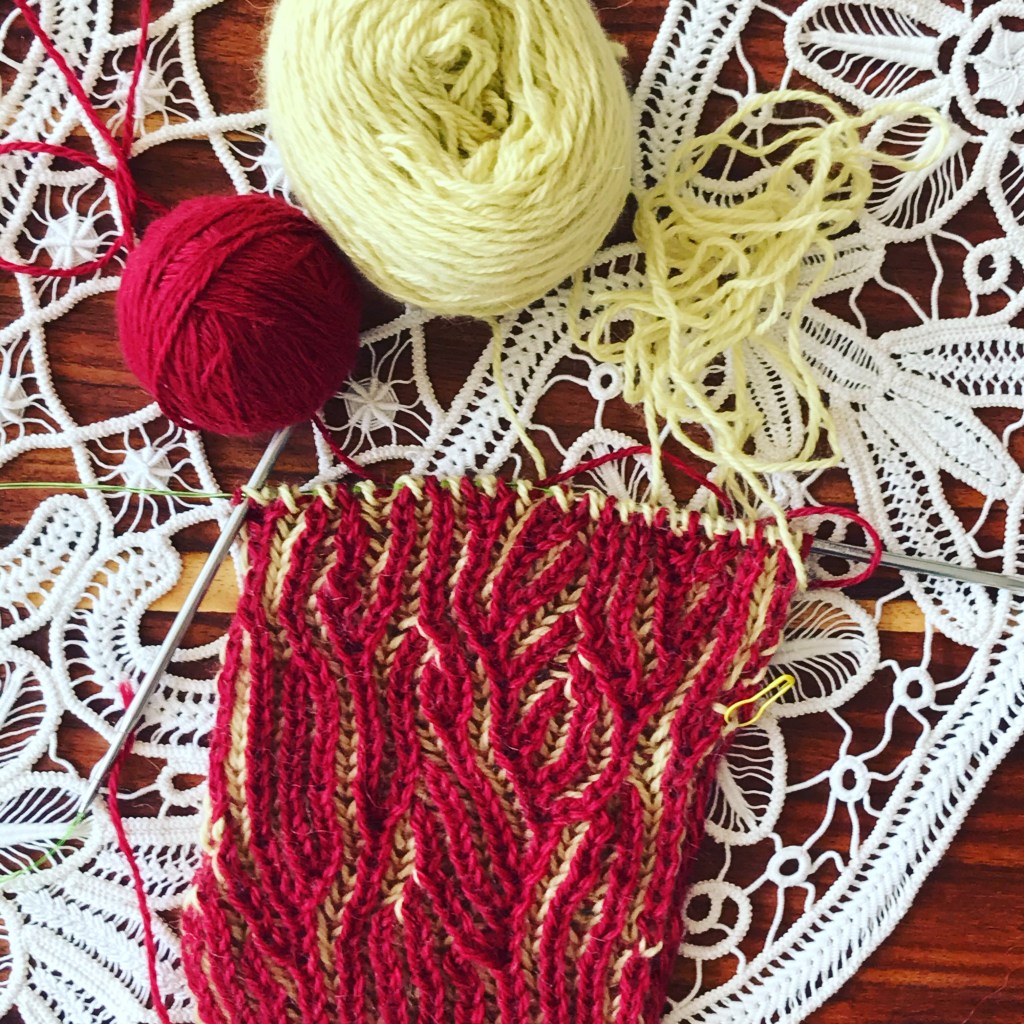
Odată ce ai învățat cum sa lucrezi acest minunat model, dorești sa aprofundezi cunoștințele și sa le treci la un alt nivel.
Și fix așa s-a întâmplat și cu mine.
Am fost vrăjită pe loc de câte de multe modele poți sculpta doar cu ochiuri pe fata, ochiuri pe dos și cu doua culori.
In curând, pe canalul meu de YouTube, va apărea prima parte.
Pe curând,
Doinita

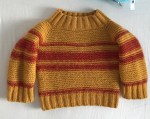
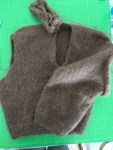
#Knitted_Sweater for a boy
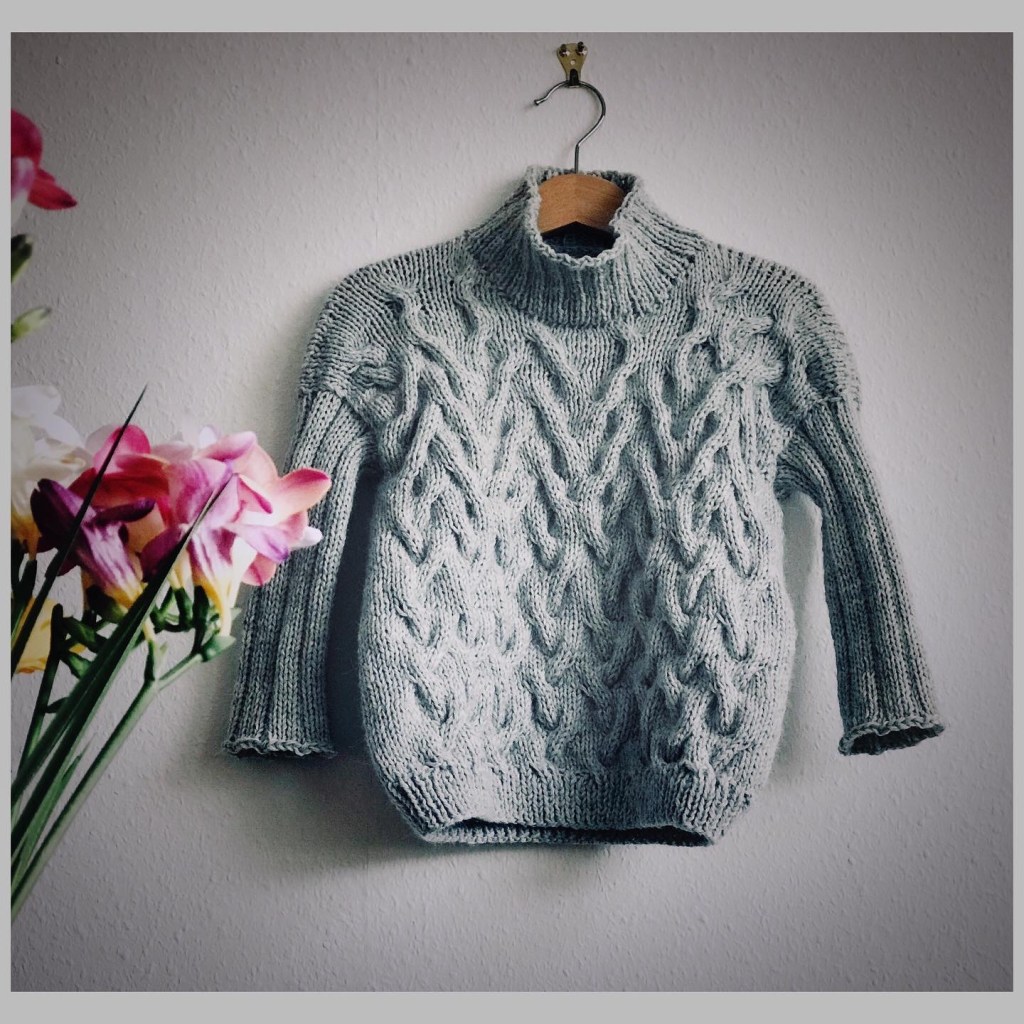
Some time ago I had the idea to create a sweater for a father and his boys, with false cables.
So, in Premiere, today, the first #sweater is ready.
On Sunday, 21.02.2021, the video with the explanations will be released and soon after, the pattern will be available.
Sooo, stay close. 😊

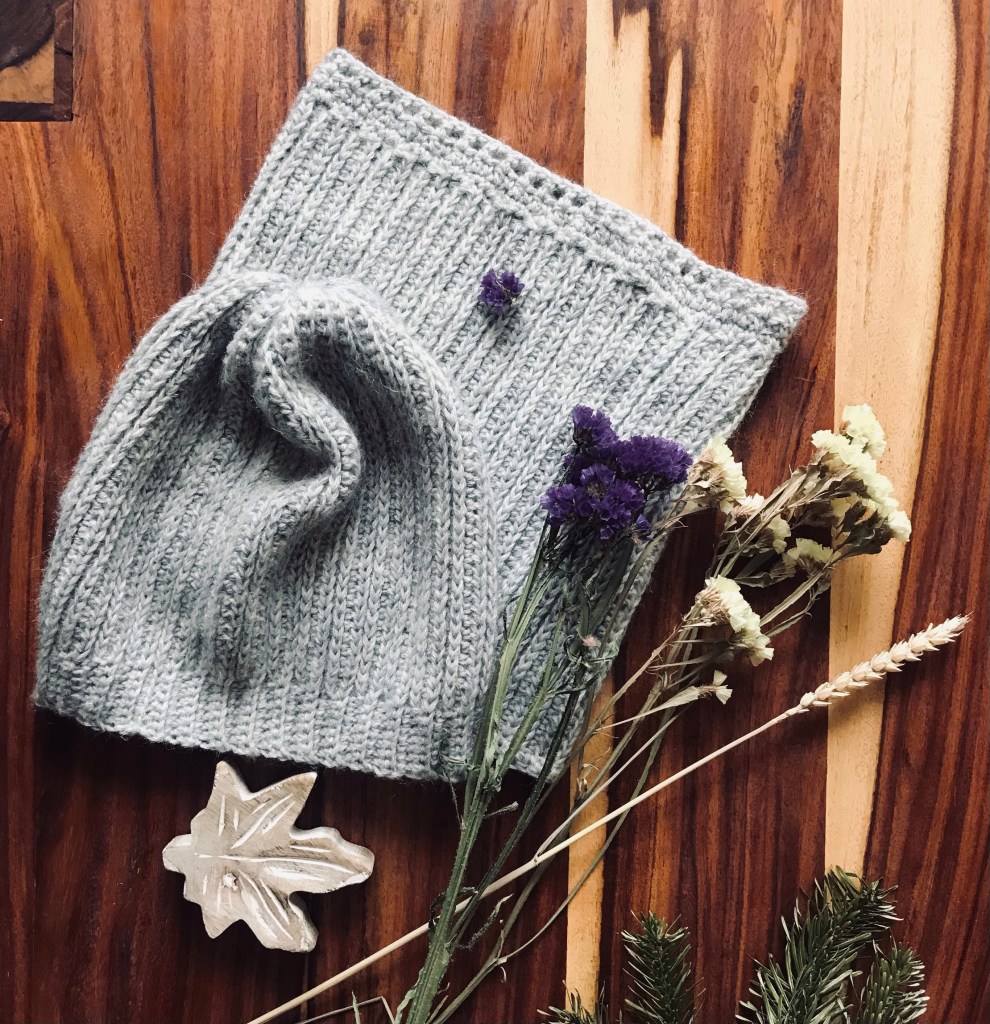
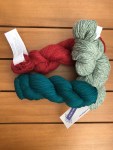
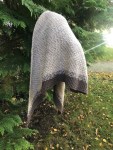
One week work
Hi,
I am very proud of myself.
With greatest pleasure, I am showing you my one week work.
I hope you enjoy it also

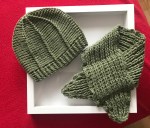
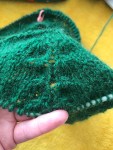
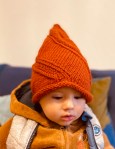
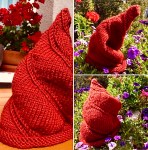
The most easiest BEANIE you have ever made
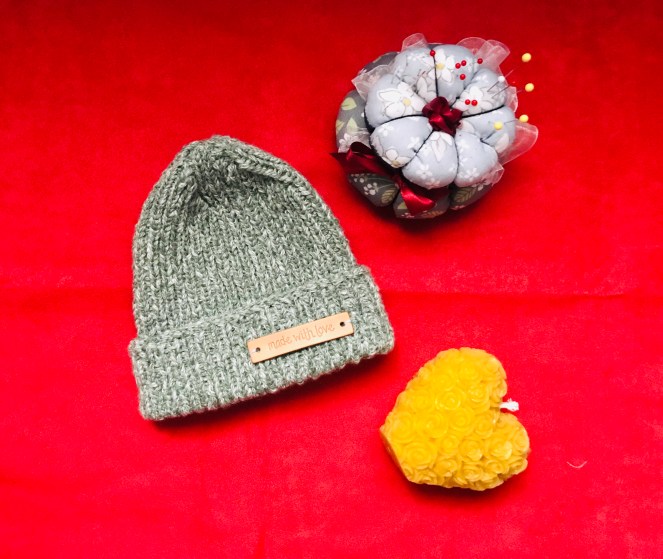
Did you ever dreamed to be able to knit a beanie in just 2-3 hours?
Well, with this method, you will be able to do it.
And it’s not even something new. Everyone knows it. Even you, if you are a beginner. You just need to know how to: cast on, purl, knit, purl2together, knit2together.
I have used Lofti DK – Mistletoe – it’s been a yarn that I have bought from KnitCrate. This beautiful yarn contains 48% Merino Wool, 32% Cotton and 20% Baby Alpaca. It’s like a beautiful dream, soft and very easy to work with.
The yarn is also perfect for the ones who have sensitive scalp, because alpaca wool doesn’t contain lanolin.
Merino wool, cotton and alpaca create together the perfect mix for eliminating the moisture, keeping warm and still, the air is circulating inside the beanie. I tell you, if you have kids who sweat a lot (like mine), this mixture of yarn is perfect for them.
To create this cute beanie, you need 4,5 mm (US 7) circular needle with your desired length. I do prefer the longest one that exist, simply because I love the magic loop method. And also DK yarn, 3 markers and one unique marker, scissors and a tapestry needle.
For all the dimensions in the pattern, I have used a minus ease of 8cm / 3 in
The tension of my work is for 10 cm (4in) = 24 stitches & 34 rows
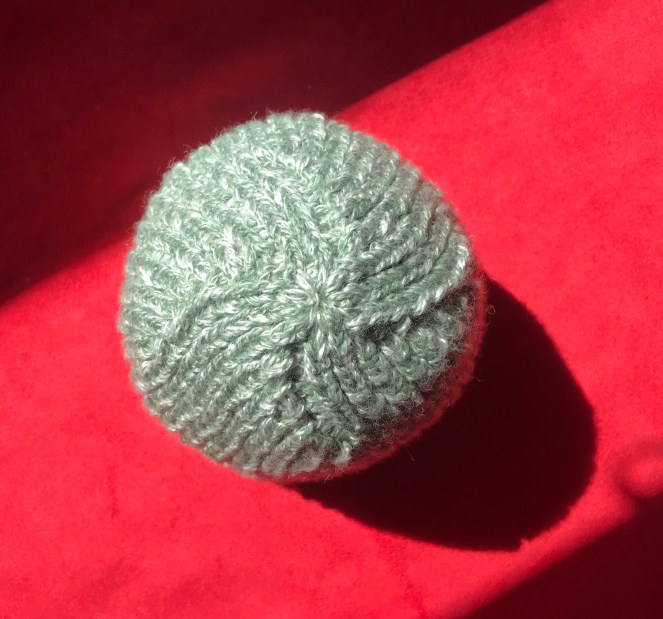
The entire beanie is knitted with purls and knits and in the round.
For today you can find the details to create the beanie for your little mousse, with a head circumference of 46 cm.
For the head circumstances of: 30 cm (36cm) 41cm (51cm) 56cm (61cm) an update will follow the next days.
Casting on…
Using a 4,5 mm circular needles, cast on 72 stitches with your preferred method. Knit one, purl one till the end and join in the round. Work like this for the next 5 cm or 17 rows. Don’t forget to use an unique marker for the beginning of the round.
The “body” of the beanie…
After 5 cm, change the sequence. Instead of knit you should purl and, instead of purl, you should knit. Work like this for the next 11 cm or 40 rows, after you have changed the sequence.
Decreasing…
Now we have to start with decreasing. Count to see if you still have 72 stitches because we will divide the beanie in 4 equal parts and you will need 3 more stitches, which will be different than the unique one.
R1 P3tog, (k1,p1)*16 st, k3tog (p1,k1)*16st, P3tog, (k1,p1)*16 st, k3tog (p1,k1)*16st
R2 knit and purl as the stitches require
R3 P3tog, (k1,p1)*14st, k3tog (p1,k1)*14st, P3tog, (k1,p1)*14 st, k3tog (p1,k1)*14st
R4 knit and purl as the stitches require
R5 P3tog, (k1,p1)*12st, k3tog (p1,k1)*12st, P3tog, (k1,p1)*12st, k3tog (p1,k1)*12st
R6 knit and purl as the stitches require
R7 P3tog, (k1,p1)*10st, k3tog (p1,k1)*10st, P3tog, (k1,p1)*10st, k3tog (p1,k1)*10st
R8 knit and purl as the stitches require
R9 P3tog, (k1,p1)*8st, k3tog (p1,k1)*8st, P3tog, (k1,p1)*8st, k3tog (p1,k1)*8st
R10 knit and purl as the stitches require
R11 P3tog, (k1,p1)*6st, k3tog (p1,k1)*6st, P3tog, (k1,p1)*6st, k3tog (p1,k1)*6st
R12 knit and purl as the stitches require
R13 P3tog, (k1,p1)*4st, k3tog (p1,k1)*4st, P3tog, (k1,p1)*4st, k3tog (p1,k1)*4st
R14 knit and purl as the stitches require
Now, leave some extra yarn and cut it. Pick a tapestry needle and thread it with the yarn and then put all the remaining stitches on the yarn and secure and close the gap with your preferred method.
You can leave it like that. It’s also very cute or, you can add a Pom-Pom or knit/crochet some ears, sew a mustache and there you have something really funny and warm for your little mousie.
Have fun with this little project and see you soon.
Bye, bye


You must be logged in to post a comment.