

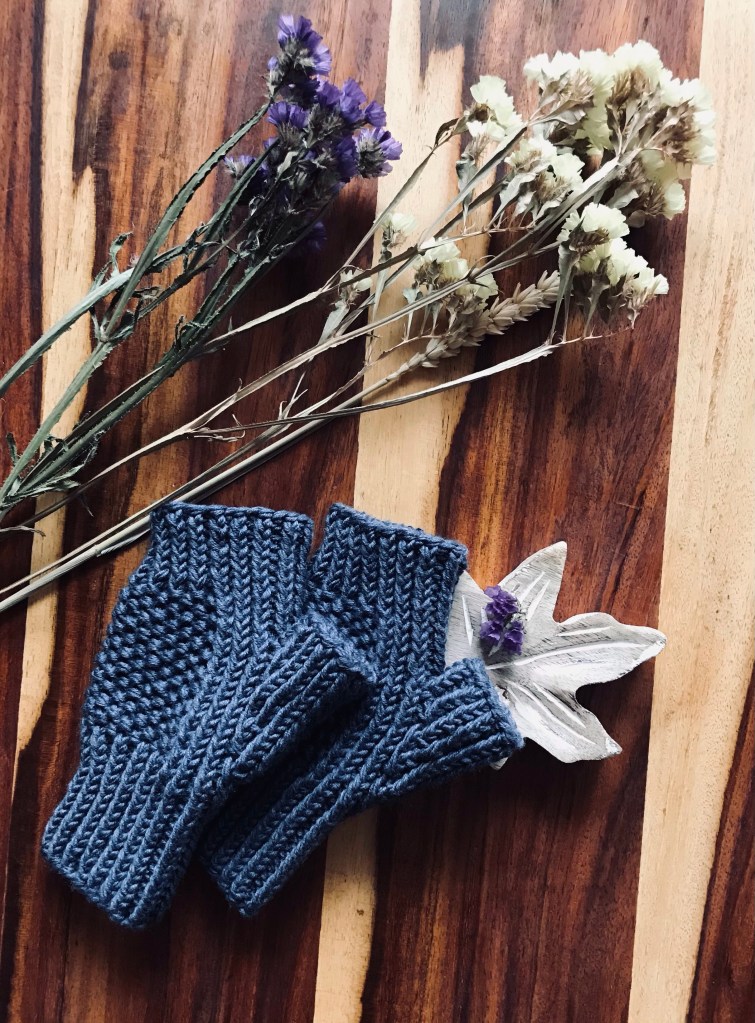
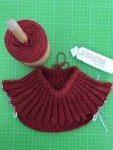
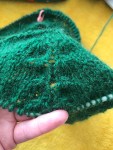
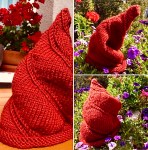
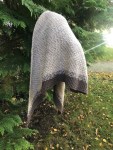
Model frumos in doua culori – CECURI ELVETIENE
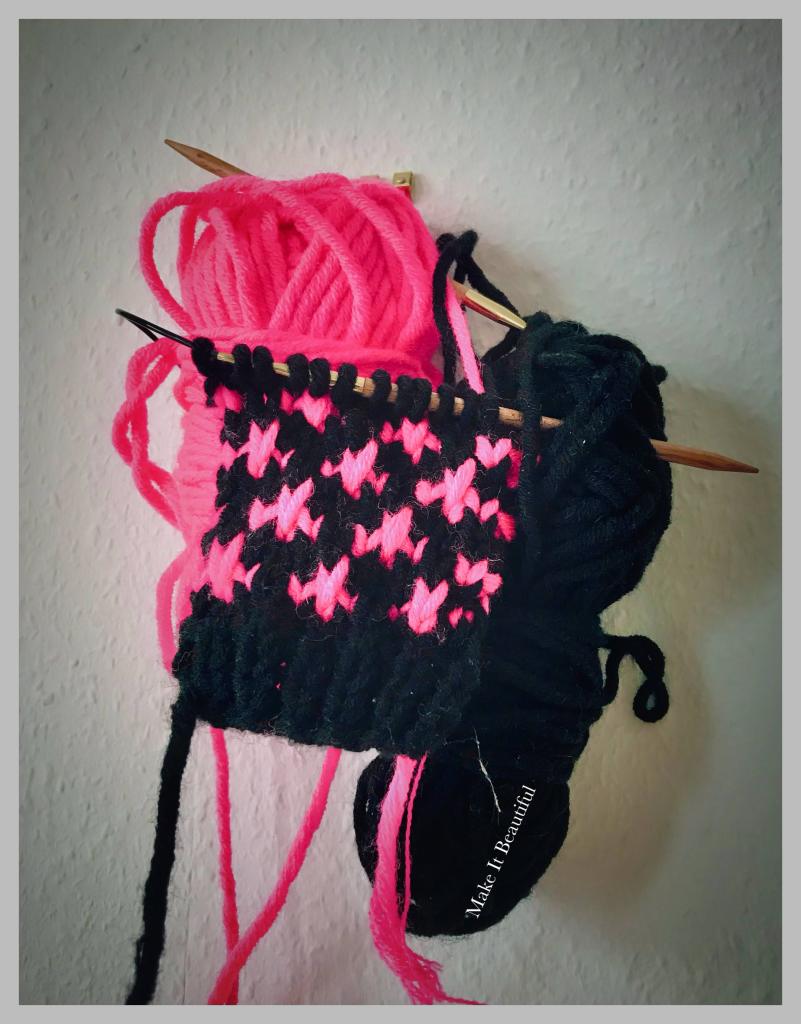
| Modelul se poate folosi cu succes pentru hainute de copii sau adulti, pentru partea de jos a unui pulover, pentru mansete sau partea de susa unui Yoke. | |
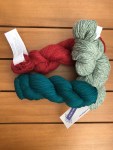
| Vei avea nevoie de doua culori, culoarea de baza si culoarea de contrast. Recomand o culoare complementara culorii de baza, pentru ca astfel modelul va iesi in evidenta si va crea un efect de “WoW, ce complicat este!” | |
| Dar nu este deloc complicat, vei vedea. | |
| Culoarea complementara culorii de baza este acea culoare care se afla la polul opus culorii de baza si au un contrast foarte mare atunci când sunt utilizate împreună într-o compoziție dar, se si pun in valoare, atunci cand sunt folosite impreuna. | |
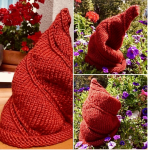
| De exemplu, alegi ca si culoare de baza culoarea rosu, culoarea complementara a lui rosu este verde. | |
| Culoarea complementara a lui mov este galben si a lui albastru este portocaliu. | |
| Pentru a crea acest model, vei avea nevoie de 4 ochiuri + 1 pentru simetrie si se lucreaza in 8 randuri | |
| Lucreaza o margine (oricare doresti) cu culoarea de baza + inca un rand cu toate ochiurile pe fata | |
| r1, RF, cc | 1of, 1oaas, [1of,3oaas]* repeta ce este intre paranteze pana la ultimele 3o, 1 of, 1 oaas, 1of |
| r2, RD, cc | 1of, [3od, 1oaaf]* repeta ce este intre paranteze pana la ultimele 4o, 3od, 1of |
| r3, RF, cb | 2of, [1oaas, 2of]* repeta ce este intre paranteze pana la ultimele 3o, 1oaas, 2of |
| r4, RD, cb | toate od |
| r5, RF, cc | 1of, [3oaas, 1of]* repeta ce este intre paranteze pana la sfarsit de rand |
| r6, RD, cc | 1of, 1od, [1oaaf, 3od]* repeta ce este intre paranteze pana la ultimele 3 o, 1oaaf, 1od, 1of |
| r7, RF, cb | 4of, [1oaas, 3of] * repeta ce este intre paranteze pana la ultimul ochi, 1of |
| r8, RD, cb | toate od |
Un fisier pdf pentru a-l salva si/sau printa, gasiti mai jos:

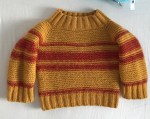
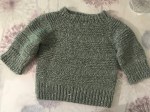
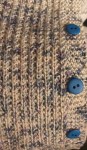
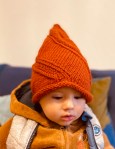
#Knitted_Sweater for a boy
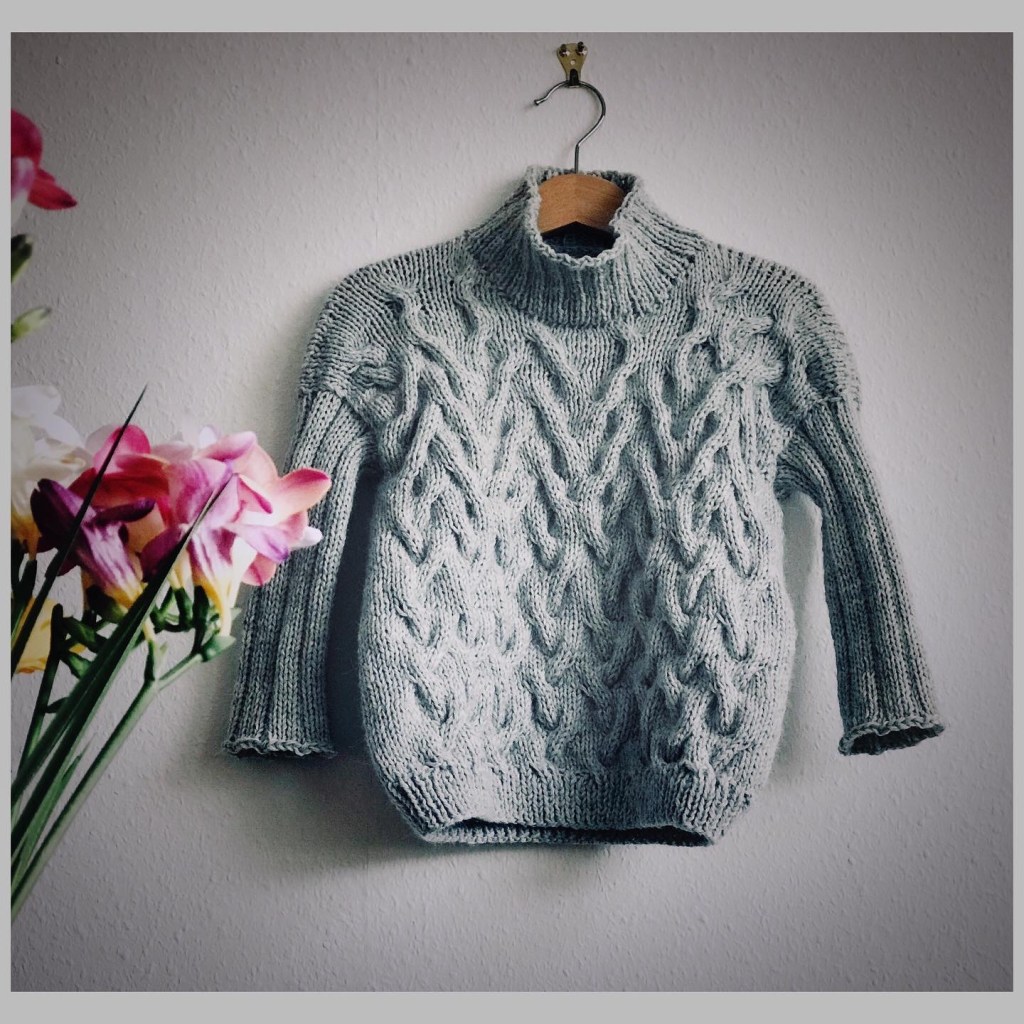
Some time ago I had the idea to create a sweater for a father and his boys, with false cables.
So, in Premiere, today, the first #sweater is ready.
On Sunday, 21.02.2021, the video with the explanations will be released and soon after, the pattern will be available.
Sooo, stay close. 😊

Rândurile scurte
Ce sunt rândurile scurte și care sunt formulele, le aflați din acest video
Ce sunt? Când le lucram? De ce le lucram? Unde le lucram?Rândurile scurte…
Multă lume se teme de rândurile scurte și probabil de aceea am văzut putine persoane creând rândurile scurte la o bluza, de exemplu.

Dar oare avem nevoie sa creăm rânduri scurte?! 🧐
Eu și mulți alții credem ca da!
De ce?
Simplu. Anatomia corpului nostru o cere! Spatele este cu 2,5cm – 5 cm mai înalt decât fata și dacă vom crea o bluza fără aceste rânduri scurte, de exemplu, bluza ne “va sta fix in gât”. 😜😃
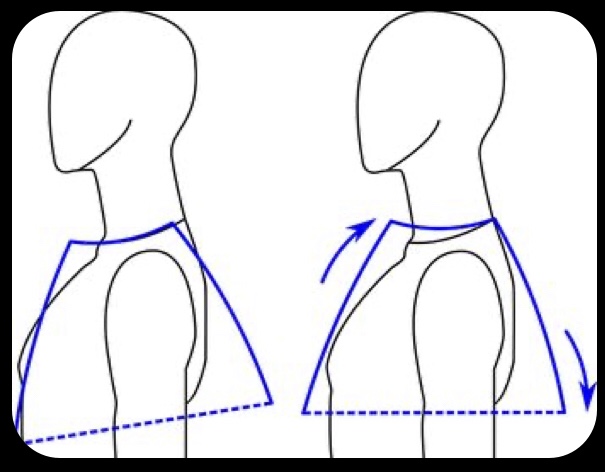
Poate vei spune ca vei face decolteul mai larg. Corect! Dar tot se va ridica partea din fata in momentul când vei merge, de exemplu. 😉
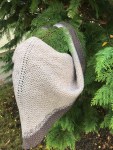
Un alt motiv de a crea rânduri scurte este acela pentru a da o estetica specială unui sal, de exemplu.

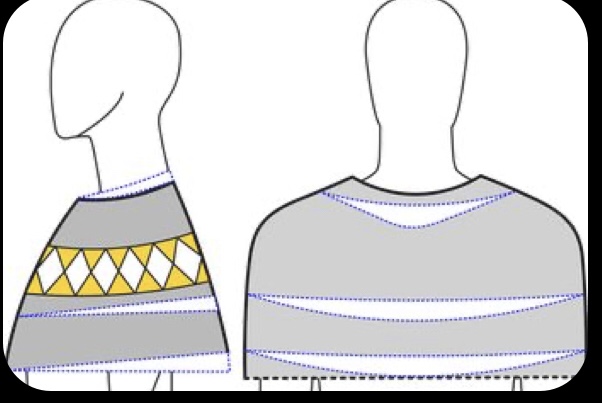
Mai creăm rândurile scurte atunci când dorim sa îmbunătățim așezarea corecta pe corp a unui Yoke (bluza lucrata de sus in jos, diferită de tehnica raglan) atunci când are un model mai complicat.

Le mai lucram la ciorapi
Dar, ce sunt pana la urma, rândurile scurte?
Rândurile scurte sunt acele rânduri create mai scurt decât rândurile in mod normal.
Complicat, nu? 🙃😛
Unde lucram rândurile scurte?
La o bluza, cel mai bine le lucram in partea de sus, inainte sau după guler (depinde de modul de a lucra puloverul)
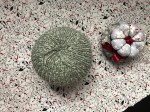
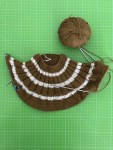
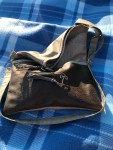
Make your own ecological sponge
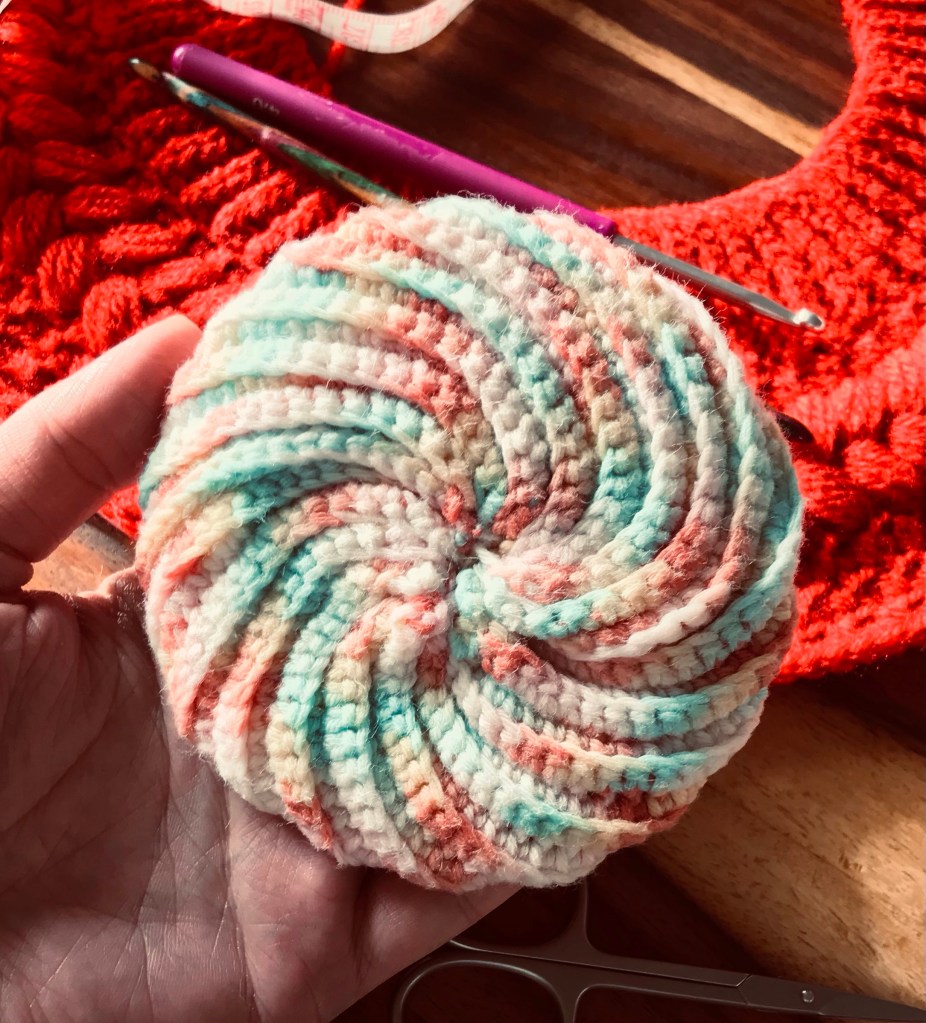
Hi,
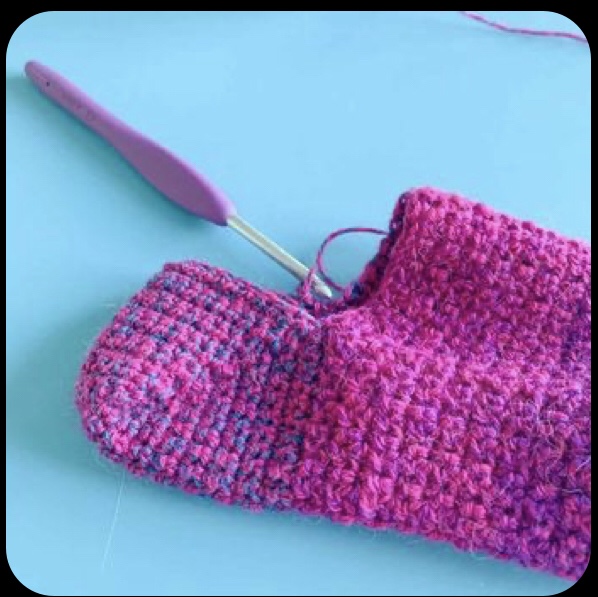
Here 👇🏼 you can find how to make your eco cosmetics sponge 😍
I have used 2,75mm hook, 100% cotton
Start by making a chain of 36 sts
Setting row
Decrease first 2 sts, sc till the last st, increase 2 sts in the last sts, ch1 turn
From now on, always work only in the back loop.
R1.
Increase 2 sts in the first st, sc till the last 2 sts, decrease last 2 sts
R2
Decrease first 2 sts, sc till the last st, increase 2 sts in the last sts, ch1 turn
Repeat R1 and R2 till you will reach the same width as your length. Join as you see in the video.
Happy crocheting 🧶
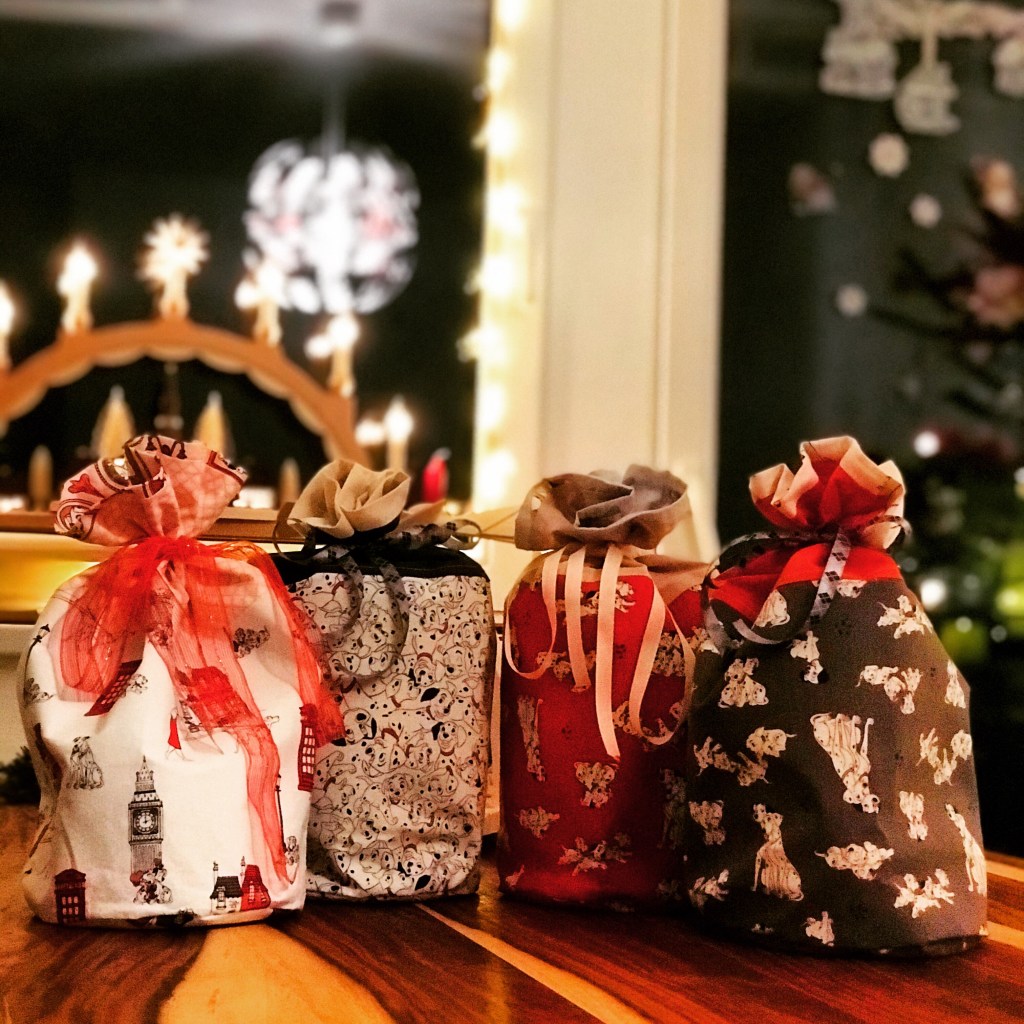
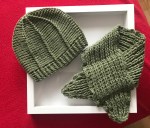
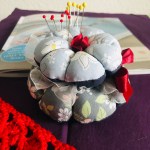
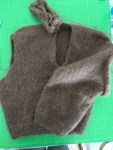
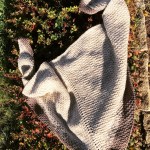
One week work
Hi,
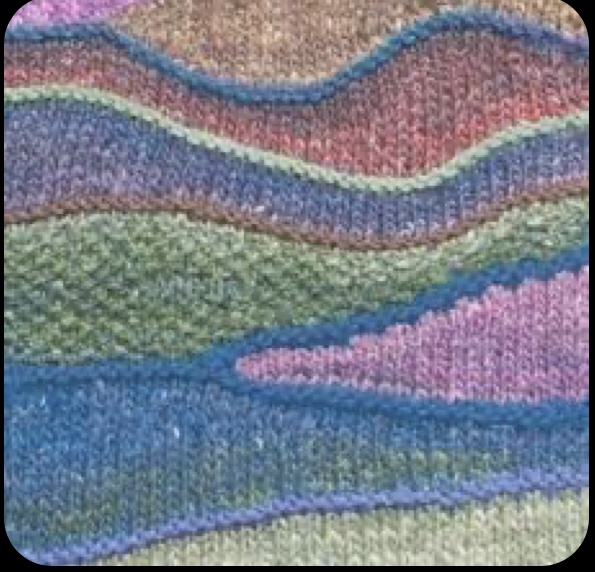
I am very proud of myself.
With greatest pleasure, I am showing you my one week work.
I hope you enjoy it also
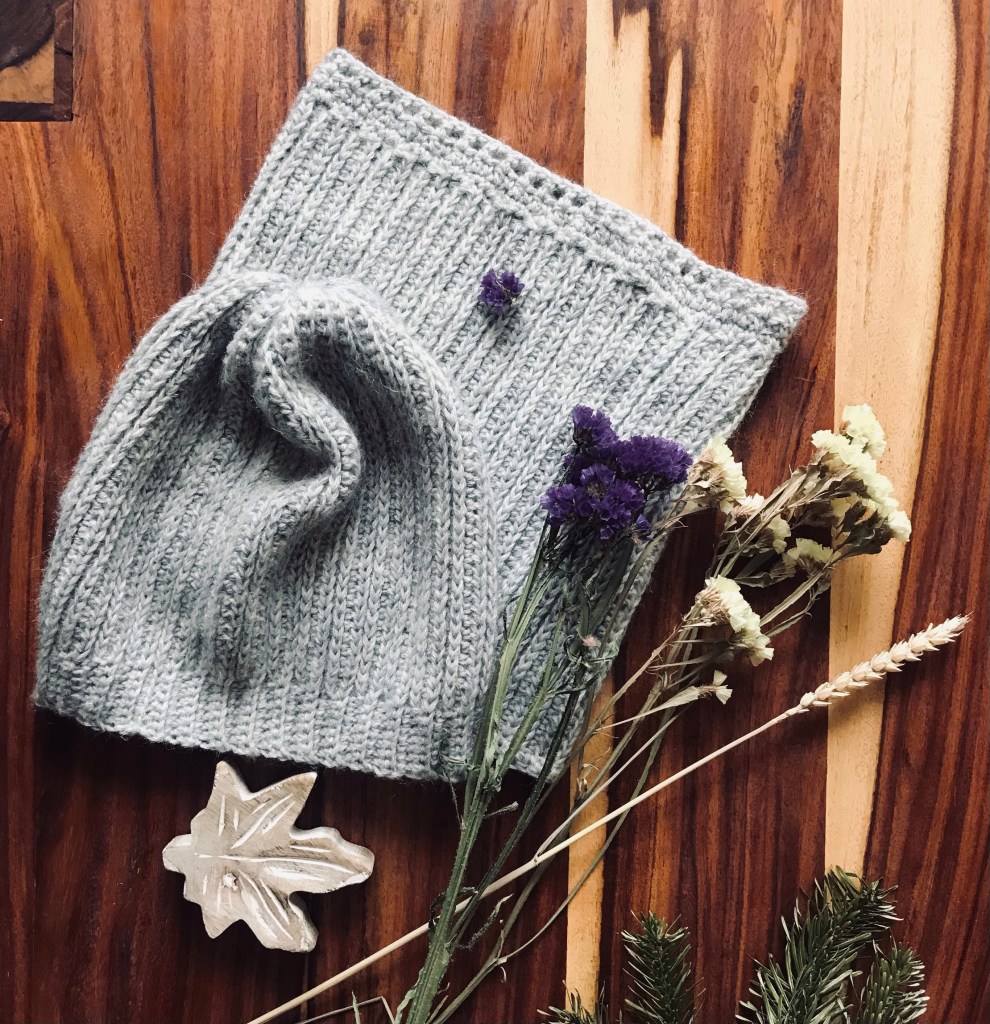

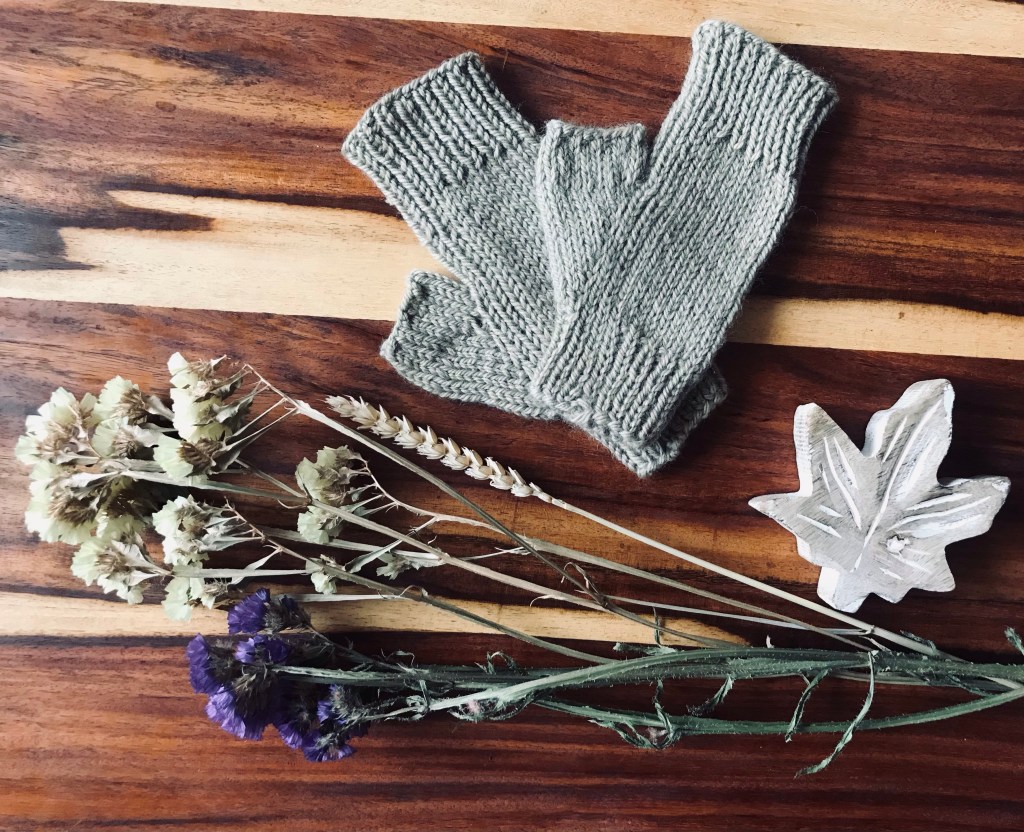
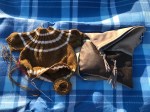
November 2020 Knitcrate Subscription
My monthly #knitcrate subscription – November 2020 – Peruvian Highland Wool
❣️ this is not a paid promotion from Knitcrate!!!


You must be logged in to post a comment.